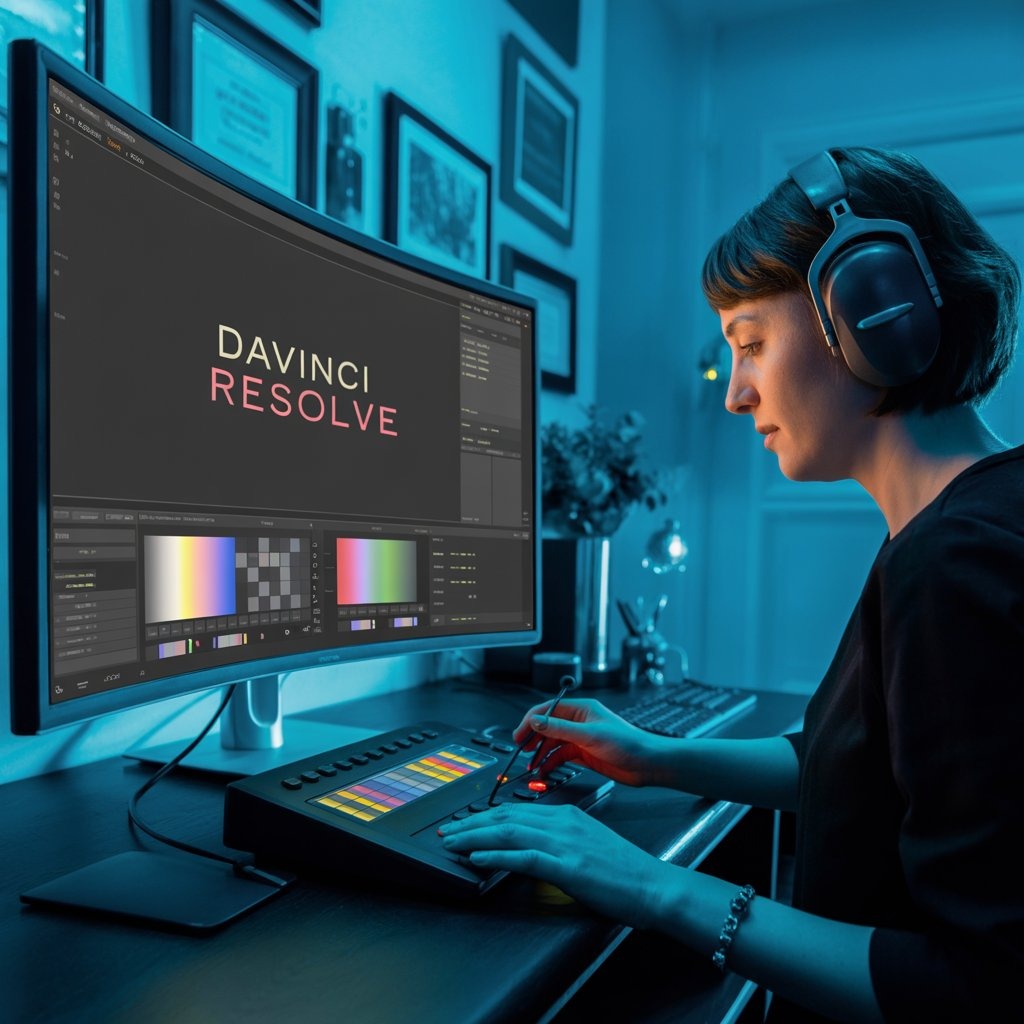
The Best DaVinci Resolve Color Grading Course for Beginners
The process of color grading involves improving the colors and contrast in your video footage to set a mood or affect how the audience feels. It’s the final polish that helps turn regular videos into ones that look and feel like movies. The color correction process is much like using an Instagram filter in movies, but on a higher level.
In short, color grading is what makes your videos look “expensive.” From music videos and short films to YouTube content and documentaries, every polished video you see has been color graded.
Why Choose DaVinci Resolve for Color Grading?
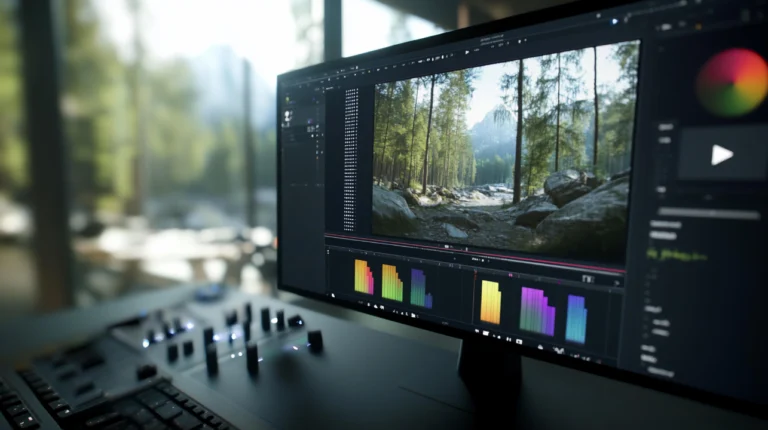
DaVinci Resolve by Blackmagic Design is a professional video editing and color grading suite used by filmmakers worldwide. It’s a powerhouse tool packed into one software platform—editing, color correction, audio mixing, and visual effects all in one.
Unlike other software, DaVinci Resolve has been developed specifically with color grading in mind. It offers high-precision tools, real-time playback, and support for high-resolution footage, even in its free version. And that’s why it’s the gold standard in the industry.
The Resolve interface might feel overwhelming at first glance, but it’s segmented into different “pages” for organization—Media, Cut, Edit, Fusion, Color, Fairlight, and Deliver. Each one is laser-focused on a specific part of your post-production workflow.
Advantages of Using DaVinci Resolve
Why choose Resolve over other tools like Adobe Premiere Pro or Final Cut? Here’s why:
- Professional-grade tools for free: Yes, DaVinci Resolve offers a robust free version that’s feature-rich enough for full-scale color grading.
- Node-based workflow: Unlike layer-based editing, Resolve’s node system gives you more control and flexibility, perfect for complex grading.
- Real-time performance: You don’t need a Hollywood studio setup—Resolve is optimized for fast rendering and playback.
- Used in Hollywood: Many blockbuster movies are graded in Resolve. If you’re serious about learning, why not use what the pros use?
- All-in-one solution: You don’t need to juggle between different apps. Resolve lets you grade, edit, mix, and export—all under one roof.
Essential Tools in DaVinci Resolve for Beginners
Primary Color Correction Tools
Primary correction tools help you fix the foundational elements of your footage—exposure, contrast, saturation, white balance, and color tone. These are the tools you’ll touch first when you open a clip in the Color tab.
- Lift, Gamma, Gain
- Color Wheels
- Contrast and Pivot
- Temperature and Tint
Secondary Color Correction Tools
Once your image is balanced, you can move into secondary grading. This is where the magic happens—skin tone correction, background enhancements, and selective adjustments.
- Qualifiers
- Power Windows
- Tracking
- LUTs (Look-Up Tables)
Step-by-Step Color Grading Process
Mastering color grading starts with a solid workflow. Whether you’re enrolled in a Color Grading Class or self-learning through a DaVinci Resolve color grading course, having a step-by-step roadmap is essential. Here’s a crisp Beginner’s Guide to Color Grading, designed to get you professional results faster.
1. Import & Organize Footage
Start in the Media tab of DaVinci Resolve. Import all footage, organize it with bins, and label shots by scene or camera angle. Your foundation is a clean workspace.
- Use Smart Bins for quick access
- Tag clips for faster filtering
- Create timelines by scenes for easier grading
2. Do Primary Corrections First
This is where you correct exposure, contrast, and white balance, making clips look natural.
- Adjust Lift, Gamma, and Gain for brightness
- Set white balance using the temp/tint sliders
- Balance saturation using Color Wheels
This is the base layer of your Step-by-step color grading process and sets the stage for stylizing later.
3. Use Scopes & Tools to Guide Adjustments
Digital color grading tools like the Waveform, RGB Parade, and Vectorscope help you measure accuracy.
- Ensure proper skin tones using the Vectorscope
- Balance shadows, mids, and highlights via the Waveform
- Use RGB Parade to match exposure between clips
This analytical approach is often skipped but is a pro-level move found in every good color grading course DaVinci Resolve offers.
4. Apply Creative Grades (Secondary Corrections)
Now the fun begins—this is your style phase. Add mood and aesthetics using:
- LUTs (Look-Up Tables)
- Custom Color Curves
- Power Windows to isolate subjects
- Contrast and midtone detail to add cinematic flair
This is where contrast-based color grading makes your visuals pop.
5. Final Color Grading Adjustments
After your creative grade, fine-tune everything:
- Match all shots for consistency
- Adjust saturation or shadows scene-wide
- Apply noise reduction and sharpening where needed
The final color grading adjustments tie your video together with a cohesive, polished look.
6. Export with Platform-Specific Settings
Use the Deliver page to export based on where your video will live:
- YouTube: H.264 MP4, 1080p or 4K
- Instagram: Square or vertical resolution
- Broadcast: DNxHD or ProRes
Proper export settings are often covered in-depth in the best color grading course DaVinci Resolve creators recommend.
Finding the Best DaVinci Resolve Color Grading Course for Beginners
When you’re just starting out, picking the right course can make or break your learning experience. The best color grading class should do more than just skim the surface. It should break down complex concepts into digestible lessons, walk you through step-by-step color grading, and provide exercises so you can practice as you go.
Look for a class that:
- Offers hands-on projects
- Covers real-world footage
- Includes downloadable materials
- Teaches digital color grading tools
- Breaks down concepts like contrast-based color grading
Above all, it should teach color grading using DaVinci Resolve, the industry-standard software used in Hollywood. That’s where Cutting Edge Pro’s training really shines—they simplify the process without dumbing it down.
Recommended Course from Cutting Edge Pro
At Cutting Edge Pro, the DaVinci Resolve color grading course is tailor-made for beginners. This is not just another “watch me work” video series. Instead, it walks you through every single step—from importing clips to the final color grading adjustments and exporting them like a pro.
Here’s what makes it one of the best color grading courses for DaVinci Resolve:
- Step-by-step tutorials: Clear, concise videos walk you through the entire workflow.
- Beginner-friendly pace: No prior experience needed.
- Practical exercises: You get sample footage to practice real-world scenarios.
- Advanced techniques made simple: Even complex node structures and scopes are explained in a way that just makes sense.
- Lifetime access and updates: Learn at your own pace, and revisit lessons anytime.
It covers everything from basic corrections to contrast-based color grading, all within the user-friendly DaVinci Resolve interface.
What You’ll Learn in the Course
This Beginner’s Guide to Color Grading starts from scratch. You’ll learn the art and science of grading video professionally. Here’s a breakdown of the modules you’ll encounter:
- Getting Started with DaVinci Resolve
- Interface tour
- Setting up a project
- Basic Color Correction
- White balance
- Lift, gamma, gain adjustments
- Creative Color Grading
- Applying cinematic looks
- Matching shots
- Advanced Techniques
- Working with nodes
- Using LUTs
- Scopes and Waveforms
- Understanding histograms
- Monitoring exposure and color balance
- Final Delivery
- Export settings for YouTube, Vimeo, and cinema
Video Editing Tips to Enhance Color Grading Workflow
Organizing Your Media
Before diving into grading, streamline your workspace. A cluttered timeline leads to sloppy grading. Use DaVinci Resolve’s media tools to stay organized:
Pro Tips:
- Tag clips with metadata for quick searches
- Sort footage by scenes or camera angles
- Apply color labels to track grading progress
Clean organization = smoother workflow and fewer mistakes.
Using Adjustment Clips and Nodes Efficiently
Adjustment clips let you apply consistent grades across multiple clips. Paired with nodes, they give you layered control without affecting original clips.
Helpful Node Tips:
- Use separate nodes for each tweak (contrast, hue, saturation)
- Label nodes clearly to stay organized
- Use layer mixers to blend LUTs and styles seamlessly
This setup is key to a clean, non-destructive workflow.
Matching Shots for Visual Consistency
Consistency is king. Your audience shouldn’t notice shifts in color between shots. Use Resolve’s tools, but trust your eye too.
Shot Matching Tricks:
- Split-screen shots for side-by-side grading
- Always match exposure and white balance first
- Use scopes (Parade, Waveform) for accurate results
Professional grades are invisible. Consistency ensures your story stays immersive.
Conclusion
It might seem tricky to start with color grading in DaVinci Resolve, but proper instruction can really help you get the hang of it. With the right training, a color grading class will make the process simple, teach you as you go along, and prepare you to do the job professionally. Cutting Edge Pro has one of the top color grading courses for people learning DaVinci Resolve, especially if you’re just starting out.
If you really want your videos to look great, you need to learn how to use color grading. And with DaVinci Resolve, you’re learning to use the same software that most professionals use in the film industry. Starting grading at once will help you feel confident while taking that course.
FAQs
1. Is DaVinci Resolve free for people who are just starting out?
Yes! Learning color grading is easy with the free version of DaVinci Resolve, which works the same as the paid one.
2. Do I need to have edited before being able to take a color grading class?
Not at all. Beginner courses, for example the one from Cutting Edge Pro, will help you step by step as if you are starting from zero.
3. How much time is needed to pick up color grading?
You can get a hold of the basics pretty fast, but becoming an expert requires time and repetition. Put in a little time each week, and you will start to notice results.
4. Is color grading a separate step from color correction?
Yes! While color correction makes sure your video is well lit and balanced, color grading adds the look and emotions you want to your video.
5. What equipment do I need for color grading?
You will need a computer with good video-editing software and a video monitor that lets you see what you’re working on more clearly.